
The HP LaserJet P2015d Font DIMM driver download for Windows 11 is the HP Universal Print Driver for Windows PCL6 (64-bit). This page lists HP’s official software for the HP LaserJet P2015d w/Font DIMM Printer.
Recommended P2015d Font DIMM driver downloads
Files download directly from HP’s official servers. hpdrivers.net does not host or modify them.
P2015d Font DIMM driver: all packages
HP Universal Print Driver
HP lists its Universal Print Driver for this series on Windows 11, Windows 10, 8.1, 8, 7 (32-bit and 64-bit). Get it from our HP Universal Print Driver page.
These Universal Print Driver files are not on that page, so they are listed here:
- HP Universal Print Driver for Windows PostScript (32-bit) 8.2.0.26778 (Windows 10, 8.1, 8, 7 (32-bit))
- HP Universal Print Driver for Windows PCL6 (32-bit) 8.2.0.26778 (Windows 10, 8.1, 8, 7 (32-bit))
- HP Print Administrator Resource Kit 1.9.2 (Windows 11, Windows 10, 8.1, 8, 7 (32-bit and 64-bit))
P2015d Font DIMM driver for Linux
HP lists Linux support for this series through its HPLIP project, outside the regular download list: HP’s Linux printing page (HPLIP).
Which systems the P2015d Font DIMM driver supports
HP’s download list for the P2015d Font DIMM names Windows 11; Windows 10, 8.1, 8, 7 (32-bit and 64-bit); and Linux through HPLIP. HP’s current list has no macOS software for this printer.
Installing the P2015d Font DIMM driver
To install it, follow these steps.
- Pick the driver package from the table above.
- Run the installer and follow the prompts.
- Connect the USB cable when the installer asks.
- Print a test page to confirm the connection.
For step-by-step instructions, see our guide to installing an HP printer driver.
Specifications that matter for setup
Paper handling and hardware details
Values below are HP’s published figures for the LaserJet P2015 series, which the LaserJet P2015d Font DIMM belongs to.
The DIMM slot on the P2015d Font DIMM
The name of this bundle points to a DIMM in the printer’s DIMM slot. HP’s guide for the series uses the heading "DIMMs (memory or font)" in its accessory appendix. However, the installation steps there cover memory (RAM only), so the guide gives no font-specific procedure.
Because HP’s own download list matches the one for the P2015d, HP lists no extra font software for this version. The guide’s memory specifications describe the slot itself.
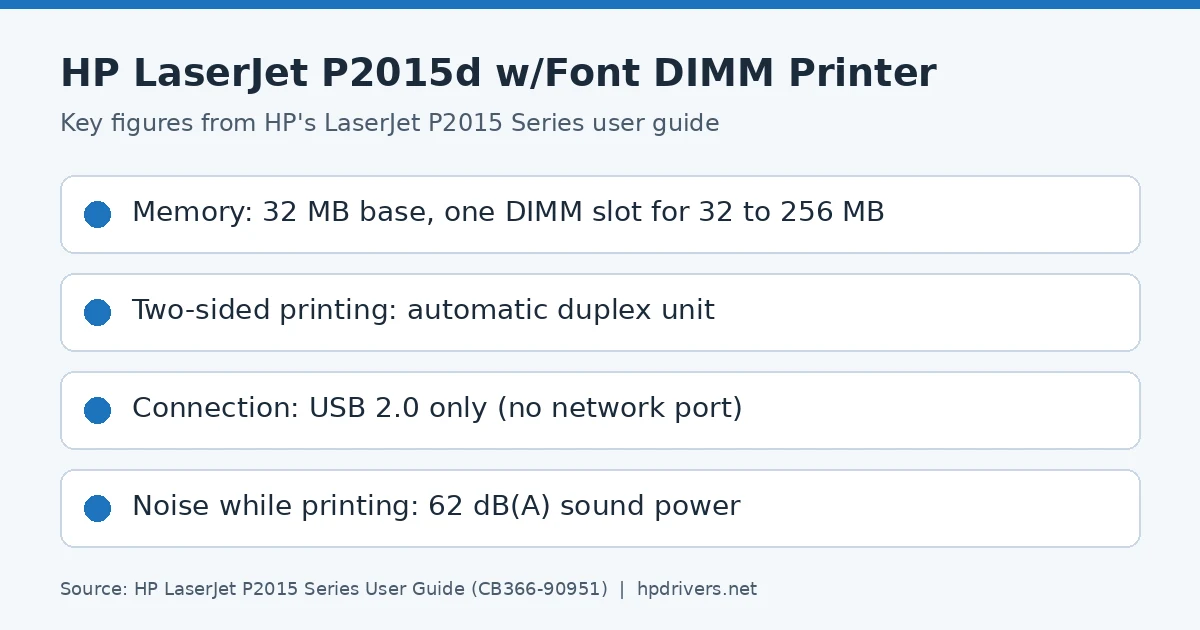
- Base memory is 32 MB of RAM.
- One DIMM slot accepts a 32, 64, 128 or 256 MB RAM DIMM.
- The upgrade module is a 100-pin DIMM with a 66 MHz minimum speed.
- The printer switches between PCL 6, PCL 5e and HP postscript level 3 emulation by itself.
To check that the fitted DIMM is recognized, print a configuration page and look at the Total Memory line. If all control-panel lights blink after a DIMM is fitted, the installation failed, so remove the DIMM and seat it again.
If a font is missing during a job, the next section shows what the guide says to check.
When a PostScript job prints in Courier or shows a font error
The guide lists several errors of HP postscript level 3 emulation. They can appear when the printer handles more than one language. One of them comes from a typeface that never reached the printer; the other two point to the driver’s font setting.
- The job prints in Courier: the printer never received the requested typeface, or a switch to PCL happened just before the PostScript job arrived. Download the font, send the job again, and verify the font’s type and location.
- VM Error and Range Check: both point to a font error, so select unlimited downloadable fonts in the printer driver.
To see a message whenever such an error occurs, open the Print Options dialog box. Then pick the choice next to the PS Errors section. Afterwards, check the software’s own documentation if the same typeface still fails.
Cancelling a print job
You can stop a job from several places, so choose whichever is closest to hand.
- Control panel: press and release the Cancel button.
- Software program: a dialog box usually appears for a short time and lets you cancel there.
- Windows print queue: if the job is waiting in the queue or spooler, open the printer’s window, select the job and click Delete.
The guide also names HP ToolboxFX and its Cancel Job button. That utility came on the original CD, and HP no longer lists it for this printer.
If the status lights keep blinking after you cancel, the computer is still sending data. Delete the job from the queue or wait until the transfer ends. After that, the printer returns to the Ready state.
Light print, specks, dropouts and lines
The guide’s print-quality chapter lists each defect with its likely causes. Start with the one that matches your page.
- Light or faded print: the cartridge may be nearing the end of its life, or the media may be too moist or too rough. If the whole page is light, the print density may be set too light or EconoMode may be on.
- Toner specks: poor media can cause them, and so can a dirty printer that needs the cleaning procedure.
- Dropouts: a single sheet may be defective, so reprint the job. Uneven moisture or a bad media lot can also reject toner. In that case, try a different brand.
- Vertical lines: the drum in the cartridge has probably been scratched, so install a new HP cartridge.
- Gray background: lower the print density, use lighter paper or check for very dry air.
Operating limits, noise and power draw
The guide marks HP’s printer specifications as preliminary data. They are still a useful reference when you choose where to put the printer.
- While plugged in, the printer should run at 10 to 32.5 degrees C. Humidity should stay between 20 and 80 percent, with no condensation.
- Unplugged, storage is allowed from 0 to 40 degrees C and 10 to 80 percent humidity.
- While printing at 26 ppm, the sound power level is 62 dB(A) and the bystander sound pressure is 51 dB(A). In Ready or Sleep the printer is inaudible.
- Power use averages 325 watts while printing, 7 watts in Ready and Sleep, and under 1 watt when off.
Because the fuser is instant-on, the guide gives under 10 seconds for the trip from Ready to Sleep and back to printing. Power requirements depend on the country of sale. Do not convert operating voltages, because doing so can damage the printer and void the warranty.
Removing the DIMM and preparing the printer for shipping
The guide describes removal as a short job, and it reminds you to guard against static.
- Turn the printer off at the power switch and unplug every cable and cord.
- Open the DIMM door.
- Press the retaining pins outward to unlock the DIMM.
- Grasp the DIMM by its bottom edge and take it out.
- Close the door, reconnect the cables and switch the printer on.
Keep the removed DIMM in an antistatic bag. When you repack the printer, the guide asks you to remove and keep the DIMMs, cables, trays and cartridge. Store the cartridge in its original packing or out of the light, and use the original box if you can.
Similar models
This page covers the HP LaserJet P2015d w/Font DIMM Printer only. HP lists the same driver files for it as for the P2015d, so the downloads match that page. The P2015dn with Font DIMM has its own page.