
The HP LaserJet P2015x driver download for Windows 11 is the HP Universal Print Driver for Windows PCL6 (64-bit). This page lists HP’s official software for the HP LaserJet P2015x Printer.
Recommended LaserJet P2015x driver downloads
Files download directly from HP’s official servers. hpdrivers.net does not host or modify them.
LaserJet P2015x driver: all packages
HP Universal Print Driver
HP lists its Universal Print Driver for this series on Windows 11, Windows 10, 8.1, 8, 7 (32-bit and 64-bit). Get it from our HP Universal Print Driver page.
These Universal Print Driver files are not on that page, so they are listed here:
- HP Universal Print Driver for Windows PostScript (32-bit) 8.2.0.26778 (Windows 10, 8.1, 8, 7 (32-bit))
- HP Universal Print Driver for Windows PCL6 (32-bit) 8.2.0.26778 (Windows 10, 8.1, 8, 7 (32-bit))
- HP Print Administrator Resource Kit 1.9.2 (Windows 11, Windows 10, 8.1, 8, 7 (32-bit and 64-bit))
LaserJet P2015x driver for Linux
HP lists Linux support for this series through its HPLIP project, outside the regular download list: HP’s Linux printing page (HPLIP).
Which systems the LaserJet P2015x driver supports
HP’s download list for the LaserJet P2015x names Windows 11; Windows 10, 8.1, 8, 7 (32-bit and 64-bit); and Linux through HPLIP. HP’s current list has no macOS software for this printer.
Installing the LaserJet P2015x driver
To install it, follow these steps.
- Select the package for your system from the table above.
- Start the installer and follow the prompts.
- Connect the printer when the installer asks.
- Print a test page from tray 3 as a check.
For step-by-step instructions, see our guide to installing an HP printer driver.
Specifications that matter for setup
Paper handling and hardware details
Values below are HP’s published figures for the LaserJet P2015 series, which the LaserJet P2015x belongs to.
What the extra tray 3 adds
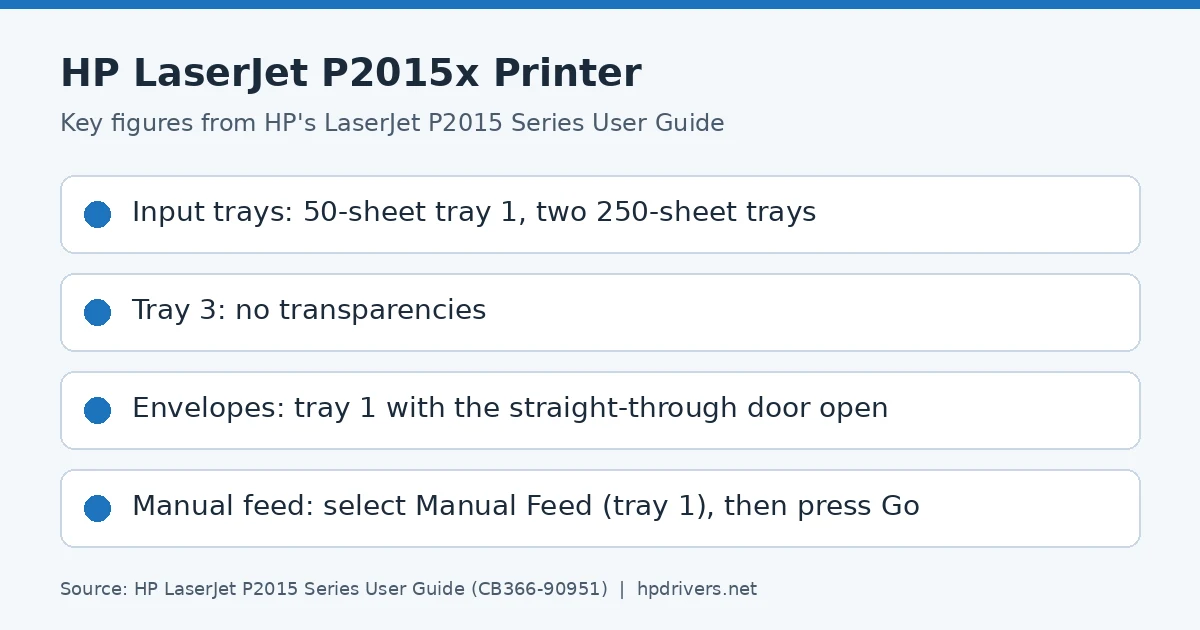
The P2015x has everything the P2015dn offers, and it adds a 250-sheet input tray, called tray 3. On other models the same tray is an optional accessory (Q5931A), so here it is already fitted.
Trays 2 and 3 each hold up to 250 pages of 75 g/m2 (20 lb) paper, or fewer pages of heavier media with a stack height of 25 mm or less. Tray 1 still takes priority. The printer prints from tray 1 before it tries other trays, so a stack in tray 1 is used first.
One limit applies. Transparencies should not be printed from tray 3. They can be printed from tray 2, but more slowly.
Loading the trays correctly
Tray 1 holds up to fifty sheets of 75 g/m2 media, or ten envelopes, ten transparencies or ten cards. It also lets you print the first page on different media from the rest of the document.
- For trays 2 and 3, load the top forward and the side to be printed facing down.
- Adjust the side and rear media guides to the length and width of the media.
- When you add new media, remove all of the old media first and straighten the new stack.
That last step prevents several sheets from feeding at once. Wrinkled, folded or damaged media can cause a jam.
Straight-through output and manual feed
Open the straight-through output door when you print envelopes, transparencies, heavy media or anything that curls. The media then leaves by the straight path from tray 1, tray 2 or tray 3. Because it does not stack, it drops to the surface below unless you take each sheet as it comes out.
Manual feed suits mixed jobs, such as an envelope, a letter, then an envelope again. Load envelopes in tray 1 and letterhead in tray 2. In the printer Properties, select Manual Feed (tray 1) as the Source Tray. When it is enabled, press Go to print.
Printing on an envelope
Use only envelopes recommended for laser printers. Their weight should not exceed 90 g/m2, and they should lie flat with less than 6 mm of curl.
- Open the straight-through output door.
- Open tray 1 and set the media guides to the envelope width.
- Place the envelope print side up with the top edge along the left guide. If the flap is on the short edge, feed that edge in first.
- In the printer Properties, choose the right media type on the Paper tab, and print.
Avoid envelopes with clasps, snaps, tie strings, windows, holes or pressure-seal adhesive, because they can jam or wrinkle.
Transparencies and labels
The printer adjusts the fuser temperature to the media type you select. Because of that, set the correct type before printing on labels or transparencies, so the fuser does not damage them.
- Open the straight-through output door and load the media in tray 1, rough side up.
- Take each page from the back of the printer as it prints, so the sheets do not stick together.
- Use only HP LaserJet transparencies and labels, because inkjet transparencies are not heat-resistant.
- Never feed a sheet of labels through the printer twice, since the adhesive degrades.
Labels need no exposed backing between them, and they must lie flat with no more than 13 mm of curl.
Replacing the cartridge and redistributing toner
Faded or light areas appear when toner is low, but redistributing the toner may improve the page for a while. Press the cartridge-door button, remove the cartridge, and rock it gently from front to back. Cover it with paper because light can damage it. After that, reinsert it and close the door.
If prints are still light, install a new HP Q7553A (3,000-page) or Q7553X (7,000-page) cartridge.
- Remove the old cartridge and take the new one from its packaging.
- Bend the tab on the left side to break it loose, then pull it until all the tape is gone.
- Rock the cartridge gently from front to back.
- Insert it and close the cartridge door.
If toner gets on clothing, wipe it off with a dry cloth and wash in cold water.
Similar models
This page covers the HP LaserJet P2015x Printer only. The related models have their own pages: P2015, P2015d, P2015n and P2015dn.