
When Windows shows User Intervention Required for your HP printer and nothing prints, HP says the cause is usually one of three things: a printer error condition, corrupted print jobs, or a wireless connection problem. HP’s Windows guide for the message lists its fixes in a fixed order, from the quickest to the most involved. This article follows that order, explains what each step does, and says when to stop and ask for service.
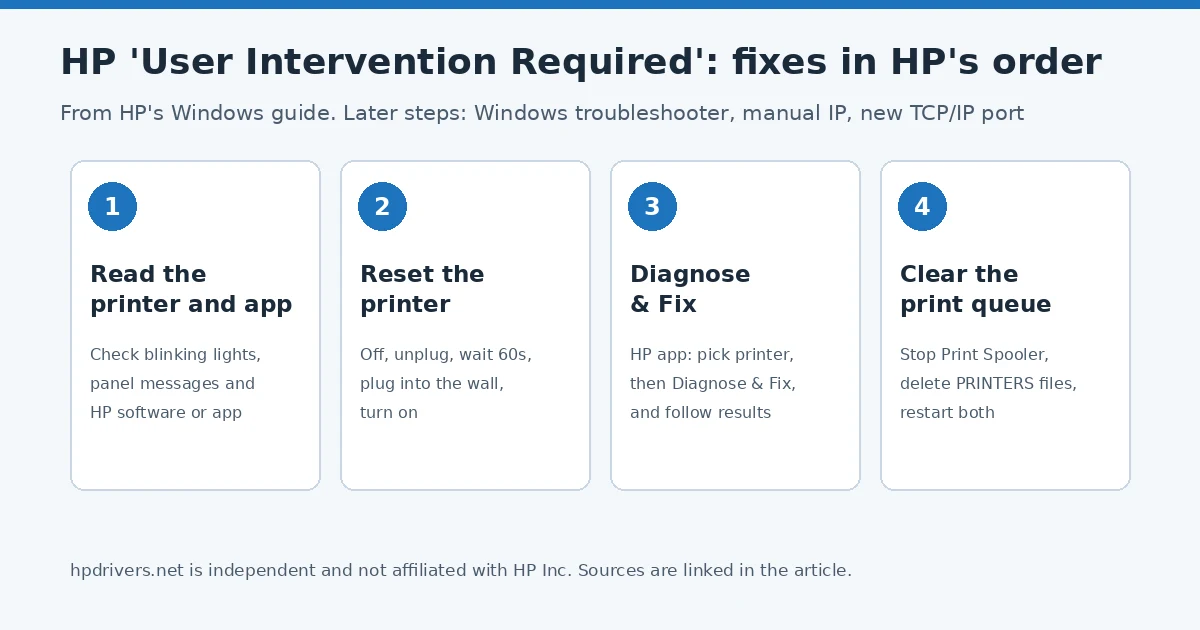
The short version
- Look at the printer first: blinking lights or a message on the panel, in the HP software or in the HP app.
- Reset the printer: off, unplug, wait 60 seconds, plug it straight into the wall.
- Run Diagnose & Fix in the HP app.
- Clear the Windows print queue, then try the Windows printer troubleshooter.
- Only then work on the network side: a manual IP address and a new TCP/IP port.
What the User Intervention Required message means
User Intervention Required is a status Windows shows for the printer when something needs attention and printing is blocked. HP describes it as a message on the computer while the printer does not print, and it does not tie the message to one cause. It names a printer error condition, corrupted print jobs and wireless connection problems, and its steps cover all three, which is why they are ordered the way they are: the cheap checks that fix the first two come before the network work.
Step 1: Check for blinking lights and messages
Look at the printer’s control panel. If lights are blinking or an error is shown, HP says to follow the instructions on the panel or in the printer software. If the panel gives none, HP says to search its support site for your model plus the blinking lights or the exact error. Also open the HP software or the HP app, because they sometimes show instructions for printer error states that the panel does not.
Step 2: Reset the printer
- If the printer has a rechargeable battery, remove it.
- Turn the printer off with the power button. If it will not turn off, unplug the power cord from the printer.
- Unplug the power cord from the power source and wait 60 seconds.
- Connect the cord directly to a wall outlet and to the printer, then turn the printer on.
Step 3: Run Diagnose & Fix in the HP app
HP points to the Diagnose & Fix tool in the HP app for Windows and macOS. Open the app, click your printer, then click Diagnose & Fix (it can also be in the Printers menu or under Diagnostics). Click Start, wait for the analysis to finish without closing the app, and follow the instructions on the results screen. If you do not have the app yet, HP says to get it from 123.hp.com or your app store; our HP app guide explains the change from HP Smart. The older Print and Scan Doctor is no longer the tool HP points to, as we explain in this article.
Step 4: Reset the Windows printing environment
This clears corrupted print jobs, one of HP’s three causes. HP gives these steps:
- Turn the printer off and unplug its power cord.
- In Windows, open Services, right-click Print Spooler and click Stop, then close the window.
- Open File Explorer and go to C:, Windows, System32, spool, PRINTERS. Delete all the files in the PRINTERS folder, but not the folder itself.
- Shut down the computer. Reconnect the printer’s power cord and turn the printer on, then turn the computer on.
Step 5: Run the Windows printer troubleshooter
Search for Troubleshoot settings in Windows, click Other troubleshooters, and click Run next to Printer. Select your printer if asked and click Next.
Step 6: Give the printer a manual IP address
This is the wireless connection part of HP’s list. Print a Network Configuration Report (in the HP app under Printer Reports, or from the control panel’s Wireless or Network Settings menu; on printers without a touchscreen HP says to press and hold the Wireless and Information buttons, and the exact buttons vary by model). On the report, check that the wireless status is Connected, and note the IP address, subnet mask, default gateway and the Embedded Web Server URL.
From a computer on the same network, open that URL in a browser, go to the Network (or Networking) tab, open Wireless, then IPv4 Configuration, and choose Manual IP. Click Suggest a Manual IP Address to fill the fields, or type the values from the report, then click Apply and wait for the change to be confirmed.
Step 7: Create a new TCP/IP port in Windows
Open Printers & scanners, click your printer, then Printer properties (on Windows 10 you may need to click Manage first). On the Ports tab click Add Port, choose Standard TCP/IP Port, click New Port, and enter the printer’s IP address with a port name you will recognize. Select the new port, click OK, then on the Device Settings tab set Automatic Configuration to Update Now. HP says the setting switches to Off a few seconds later. Click OK.
HP adds one caution here: do not uninstall duplicate printers with the same model name, because that can cause printing and scanning problems. For a printer that goes offline while Wi-Fi looks fine, our guide on HP printers that show offline covers the related checks.
When to stop and call service
If the message stays after all seven steps, HP says to service or replace the product. Contact HP Customer Support, and check your warranty status first, since repair fees might apply outside warranty.
Questions people ask
Is this a driver problem?
HP does not name the driver as a cause in this guide. Its first two causes are inside the printer and the print queue. If you do need to reinstall software for your model afterwards, our install guide covers the standard route.
Which step usually fixes it?
HP does not say. The order is built so that the quick steps come first, so start at step 1 and stop as soon as the printer prints.
Source: HP Support, HP Printers – ‘User Intervention Required’ Error (Windows).
Advertisement