
An HP printhead missing message, “Printhead failure” or “Incompatible printhead” stops an HP inkjet from printing. HP’s guide groups these errors under one fix that depends on your cartridge numbers. This page explains the order HP gives, what you can safely do yourself, and when the printhead is not user-replaceable and the printer needs service.
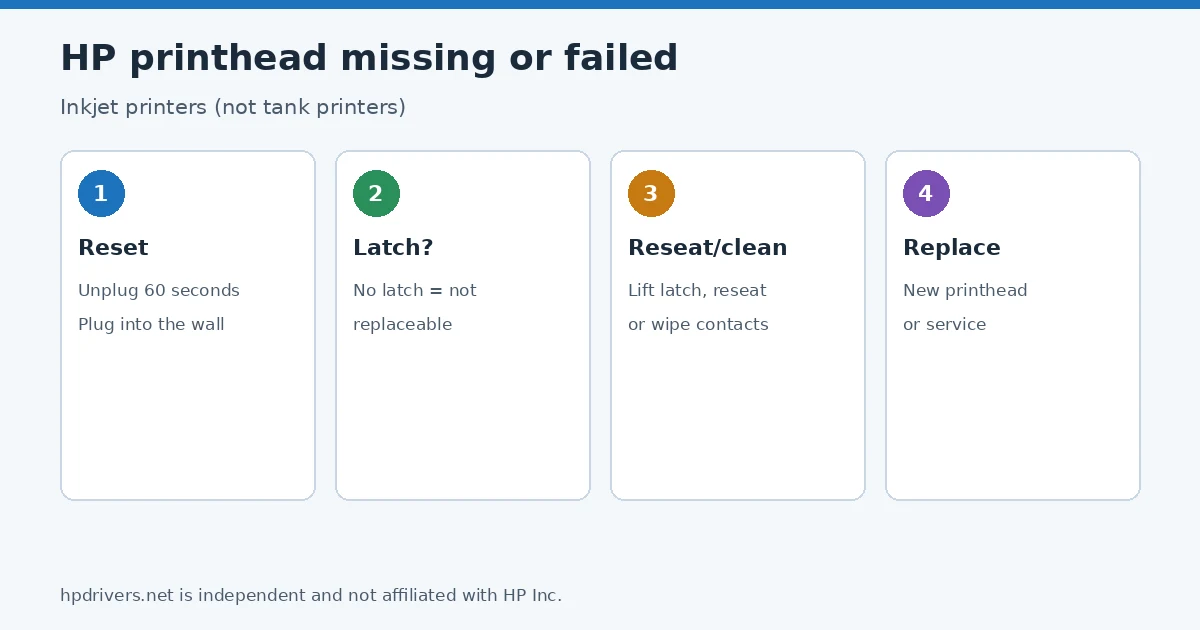
Quick check
- Printer uses a tank (ink bottles): this HP document does not apply to tank printers.
- Look for a latch on the carriage: no latch means the printhead is not replaceable and HP says to contact support.
- HP includes a 60-second power reset in its steps (step 1).
Messages HP covers
HP lists these messages: Incompatible Printhead, Missing or Failed Printhead, Printhead Appears to be Missing or Damaged, Printhead Failure, Printhead is Missing, Not Detected, or Not Properly Installed, Printhead Missing, Printhead Missing or Damaged and Printhead Problem. HP says to work through the steps in order and test the printer after each task. The steps depend on your cartridge numbers:
Step 1: Reset the printer
If an HP printhead missing message appears, HP’s first step is the same 60-second power reset described here.
- If the printer has a rechargeable battery, remove it.
- Press the power button to turn the printer off. If it will not turn off, unplug the cord from the printer.
- Unplug the power cord from the wall and wait 60 seconds.
- Plug the cord directly into a wall outlet and into the printer, then turn it on.
Other reset types are in how to reset an HP printer.
Step 2 (Type 2): Update the firmware
HP releases firmware with fixes. You can update from the control panel (for example Setup, Printer Maintenance, Update Printer, Check Now), from the HP app’s Printer Update tile, or by downloading firmware from your model’s page on HP’s software and driver site. HP warns not to turn the printer off during an update because that can permanently damage it.
Step 3: Check whether the printhead is replaceable
If your HP printhead missing error appears on a printer with no latch on the carriage, the printhead is not user-replaceable and the next step is service.
Open the cartridge door and wait until the carriage stops. If there is no latch on the carriage, the printhead is not replaceable; HP says to contact HP Customer Support for repair or replacement. Repair fees can apply if the product is out of warranty.
Step 4: Reseat or clean the printhead (if there is a latch)
Type 2 printers: reseat
- With the printer on, disconnect the power cord from the printer.
- Lift the carriage latch, slightly lift the printhead, lower it back into the carriage, wiggle it left and right, and lower the latch until it stops.
- Close the door and reconnect the power cord.
HP says you may repeat this up to three times if the error persists.
Type 1 printers: clean
- Remove all the cartridges. HP cautions not to leave them outside the printer for more than 30 minutes.
- Lift the latch until it stops and remove the printhead by its sides.
- Wipe the printhead’s electrical contacts bottom to top with a lint-free cloth slightly dampened with distilled or bottled water until no ink shows on the cloth. Do not touch the copper-colored contacts with your fingers.
- Wipe the edge between the contacts and the ink nozzles, and the ramps beside the nozzles (wipe away from the nozzles), then dry each area with a clean, dry cloth.
- Wipe the carriage’s contacts top to bottom, dry them, refit the printhead, lower the latch and reinsert each cartridge into its color-coded slot.
Step 5: Replace the printhead or service the printer
If the error remains, HP says to order a replacement printhead from the HP Parts Store using the printhead number for your printer; a defective printhead may be under warranty. If the problem persists after installing it, the printer needs service. Tank printers have their own HP pages; our Smart Tank error codes guide covers the code list.
Related problems
Sources
- HP Support: HP Inkjet printers – Printhead errors
hpdrivers.net is independent and not affiliated with HP Inc. Steps follow HP’s guide; the wording is ours.
Advertisement